honeybee-wiki
Ladybug Tools
1.0.0
1.0.0
  • Honeybee Wiki Home
  • Intro
    • Intro I - Installing Honeybee
    • Intro II - Grasshopper Interface
    • Intro III - Honeybee Interface
    • Intro IV - EnergyPlus Modeling Assumptions
    • Intro V - Conventions and Code Hygiene
    • Intro VI - Contributing to Honeybee Wiki!
  • Single Zone Model Home
    • Step 0 - Modeling Zone Geometry
    • Step 1 - Assign Properties to Zones
    • Step 2 - Simulation Setup
    • Step 3 - Run the model
    • Step 4 - Visualize the results
    • Step 5 - Iterating to improve design
  • Compare Passive Strategies Home
    • Passive 0 - Comfort Models
    • Passive 1 - Materials - High Performance Window
    • Passive 2 - Geometry - Shade
    • Passive 3 - Equipment - Lighting
    • Passive 4 - Ventilation - Open Windows
    • Passive 5 - Schedules - Night Flushing
  • Topics Home
Powered by GitBook
On this page

Was this helpful?

Single Zone Model Home

PreviousIntro VI - Contributing to Honeybee Wiki!NextStep 0 - Modeling Zone Geometry

Last updated 6 years ago

Was this helpful?

Contributors:

Welcome to the tutorial on using Honeybee to create a single-zone energy model. This tutorial assumes a working knowledge of Rhino, and some knowledge of Grasshopper. If you are totally new to Grasshopper, start at which provides some important background knowledge for this guide.

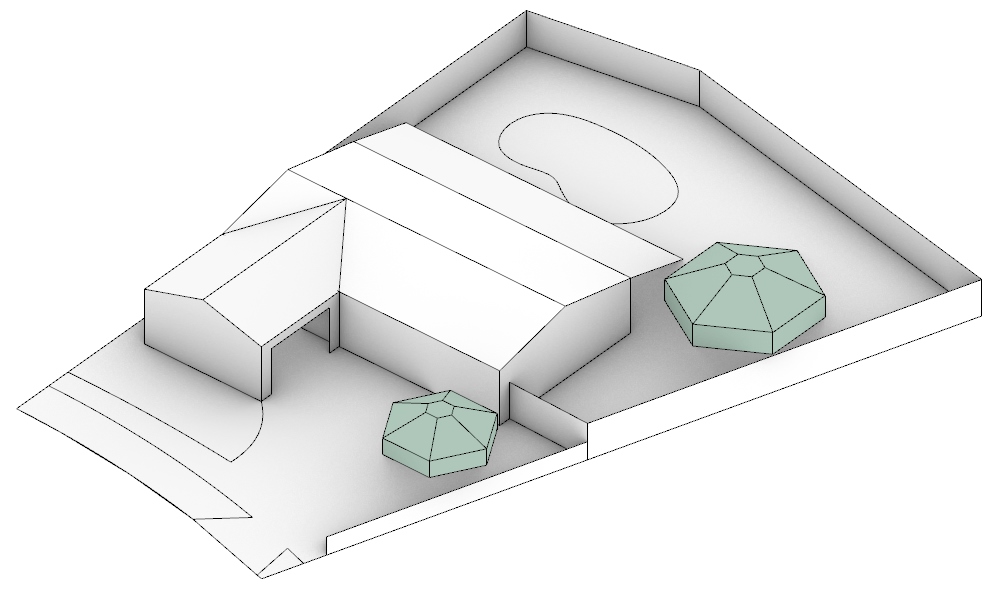
We will be making a model of a single family house in Van Nuys California, pictured below. There is a download link below for the example file below as well.

Download the example file for a

000_axo

Tutorial Contents

Step 0 - Modeling Zone Geometry
Step 1 - Assign Properties to Zones
Step 2 - Simulation Setup
Step 3 - Run the model
Step 4 - Visualize the results
Step 5 - Iterating to improve design
Intro II - Grasshopper Interface
Single Zone Model on Hydra